Henna, a time-honored art form, has captivated individuals across cultures for centuries. Its intricate designs and rich cultural significance make it a beloved choice for celebrations, festivals, and personal adornment. For those who are new to this beautiful practice, understanding the fundamentals of applying henna can seem daunting. However, with the right guidance and a little creativity, anyone can master the art of henna application. In this article, we will provide a comprehensive beginner henna step-by-step guide that covers everything from selecting the right henna to creating stunning designs. Whether you're preparing for a special event or just want to explore your artistic side, this guide will equip you with the knowledge and skills needed to create beautiful henna art.
As you embark on your henna journey, it's important to understand the tools and materials that you will need. From henna paste to application tools, each element plays a crucial role in achieving the desired results. Additionally, we will explore various design ideas and techniques that can help you unleash your creativity. So, if you're ready to dive into the world of beginner henna step by step, let's get started!
Throughout this article, we'll answer common questions, provide useful tips, and share step-by-step instructions to ensure a smooth henna application experience. So grab your henna supplies, and let's embark on this creative adventure together!
What is Henna and Its Cultural Significance?
Henna, derived from the leaves of the Lawsonia inermis plant, has been used for centuries in various cultures around the world. It is commonly associated with celebrations such as weddings, festivals, and religious ceremonies. The intricate designs created with henna symbolize beauty, joy, and prosperity, making it a cherished art form. In many cultures, henna is applied to the hands and feet of brides as a symbol of good luck and fertility.
What Supplies Do You Need for Beginner Henna Step by Step?
Before you start your henna journey, it's essential to gather the necessary supplies. Here’s a list of items you will need:
- Henna powder
- Essential oils (such as eucalyptus or tea tree oil)
- Water
- Mixing bowl
- Plastic wrap or a sealable container
- Applicator cone or squeeze bottle
- Design templates (optional)
- Baby wipes or damp cloth for cleanup
How to Prepare Henna Paste for Application?
Preparing the henna paste is the first step in your beginner henna step by step journey. Here’s a simple method to create the perfect henna paste:
- In a mixing bowl, combine henna powder and water to create a smooth paste.
- Add a few drops of essential oils to enhance the color and scent.
- Cover the bowl with plastic wrap and let it rest for 6-12 hours at room temperature.
- Once rested, transfer the paste into an applicator cone or squeeze bottle for easy application.
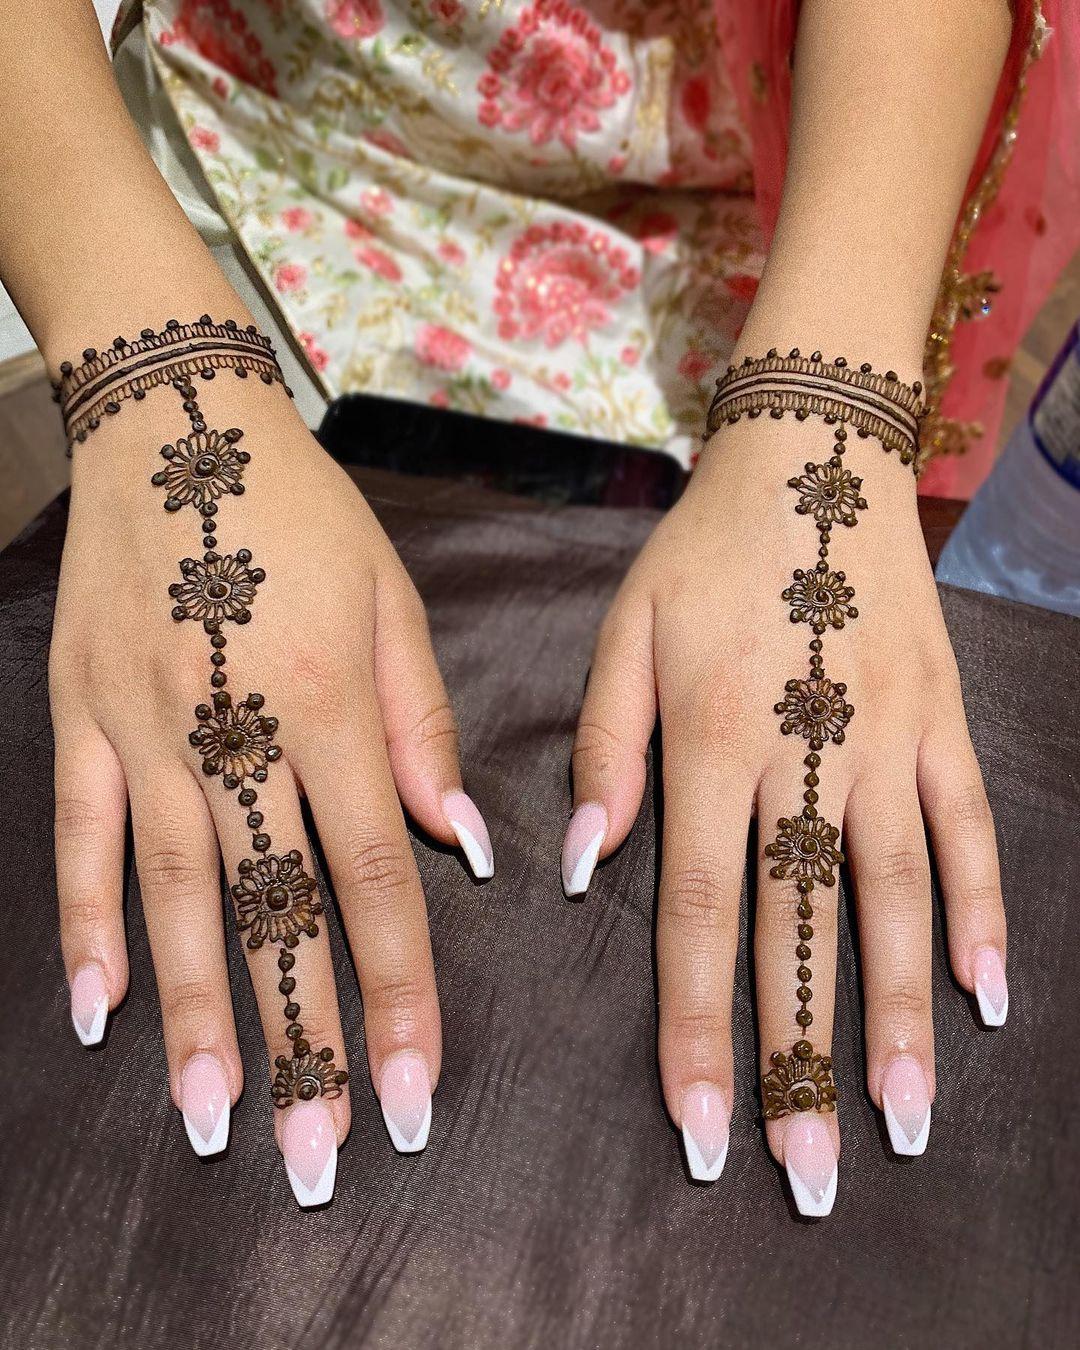
How to Choose the Perfect Design for Your Henna?
Choosing the right design is an important aspect of your beginner henna step by step process. Here are a few tips to help you select the perfect design:
- Start with simple patterns such as flowers, leaves, or geometric shapes.
- Look for design inspiration online or in henna design books.
- Consider the occasion and your personal style when selecting a design.
- Practice on paper or your own skin to build confidence before applying on others.
What is the Step-by-Step Application Process?
Now that you have your henna paste ready and your design chosen, it's time to apply the henna! Follow these steps for a successful application:
- Ensure the skin is clean and free of oils or lotions.
- Hold the applicator cone at a 45-degree angle for better control.
- Start with the outline of your design, working from the center outward.
- Fill in the design with intricate details as desired.
- Allow the henna to dry completely, which may take 30 minutes to 2 hours.
- Once dry, carefully scrape off the dried henna (do not wash it off).
- Keep the area dry and avoid water for at least 24 hours to allow the color to develop.
How to Care for Your Henna After Application?
Proper aftercare is crucial for achieving vibrant and long-lasting henna designs. Here are some tips for caring for your henna:
- Avoid washing the area for at least 24 hours after application.
- Keep the henna design moisturized with natural oils to prevent cracking.
- Avoid exposure to water, especially in the initial days.
- Try to stay out of direct sunlight, as it can fade the color.
What If I Make a Mistake While Applying Henna?
It's natural to feel nervous about making mistakes during your beginner henna step by step journey. However, there are ways to fix common errors:
- If you make an error, use a cotton swab dipped in coconut oil to gently remove the mistake.
- Practice patience and don’t rush the process; take your time to perfect your design.
- Remember that mistakes can often lead to unique and beautiful designs!
Conclusion: Embrace Your Creativity with Beginner Henna Step by Step
Embarking on your henna journey can be an exciting and fulfilling experience. With this beginner henna step by step guide, you now have the tools and knowledge to create beautiful henna art. Remember to have fun, embrace your creativity, and don't be afraid to experiment with different designs and techniques. As you gain confidence, you'll find yourself creating stunning henna art that brings joy to both yourself and those around you. Happy hennaing!